
 English
 русский
 Français
 Español
 Indonesia
 Deutsch
 عربى
عربى 中文简体
中文简体
Autoclave Unwrapped Cycle Time: The Definitive 3-Minute Guide (121°C vs 132°C)
Posted by Admin | 16 Jun
Content
- 1 What Is an Unwrapped Autoclave Cycle?
- 2 Standard Sterilization Times for Unwrapped Items
- 3 Flash Sterilization: When and How to Use It
- 4 3 Key Variables That Affect Unwrapped Cycle Time
- 5 How to Validate Your Unwrapped Sterilization Cycle
- 6 Post-Sterilization Handling: Immediate Use vs. Short-Term Storage
- 7 Choosing the Right Autoclave for Unwrapped Cycles
What Is an Unwrapped Autoclave Cycle?
A surgical tray sits in the sterilizer chamber, its instruments fully exposed—no pouch, no wrap, no barrier between the metal and the steam. That’s an unwrapped autoclave cycle. It delivers high-pressure saturated steam directly to item surfaces, relying solely on rapid heat transfer without any packaging material slowing things down. This makes the cycle shorter than wrapped sterilization, but it also eliminates the post-cycle sterility maintenance that wrapping provides.
The fundamental difference between wrapped and unwrapped cycles comes down to sterile barrier systems. Wrapped items are sealed in materials such as paper-plastic pouches or sterilization wraps that act as microbial barriers after the cycle ends. Unwrapped items lose that protection the moment the chamber door opens. As a result, unwrapped cycles are reserved for instruments intended for immediate use or short-term storage under tightly controlled conditions—never for long-term inventory.
Clinics and hospitals run unwrapped cycles in several scenarios: dental handpieces that will be used within minutes, ophthalmic instruments for a busy surgery schedule, or a single hemostat needed right away during a procedure. Flash sterilization—a rapid, high-temperature unwrapped cycle—falls squarely into this category. Understanding the cycle time is what keeps those instruments safe without needless waiting.
Standard Sterilization Times for Unwrapped Items
Cycle time depends primarily on the type of autoclave. The two dominant technologies produce very different exposure requirements. A gravity displacement sterilizer relies on steam’s natural buoyancy to displace cooler air. A pre-vacuum sterilizer uses a vacuum pump to remove air before steam injection, improving penetration and slashing the necessary exposure time.
The numbers every sterile processing technician should know:
| Sterilizer Type | Temperature | Minimum Exposure Time | Typical Applications |
|---|---|---|---|
| Gravity displacement | 121°C (250°F) | 15–20 minutes | Non-porous metal instruments, simple solid loads |
| Gravity displacement | 132°C (270°F) | 10 minutes | Used for certain flash cycles where local protocols permit |
| Pre-vacuum (dynamic air removal) | 132°C (270°F) | 3–4 minutes | Instruments with lumens, porous loads, cassettes |
| Pre-vacuum (dynamic air removal) | 134°C (273°F) | 3 minutes | Standard pre-vacuum flash per AAMI ST79 |
The 15–20 minute window at 121°C remains the most widely cited benchmark for routine unwrapped gravity cycles. However, many facilities standardize on 20 minutes to add a safety margin for load variability. On the pre-vacuum side, 3–4 minutes at 132°C is sufficient because the vacuum removes insulating air pockets, allowing steam to contact every surface almost instantly. When switching between autoclave types, always confirm the specific manufacturer’s cycle parameters—some pulse vacuum autoclaves include programmable exposure profiles that can shorten these further without compromising lethality.
Flash Sterilization: When and How to Use It
Flash sterilization is simply a fast unwrapped cycle, typically run at 132°C for 3 minutes in a pre-vacuum sterilizer. It was designed for emergency situations where a single instrument is needed immediately. Because the process skips drying time and omits packaging, it can deliver a sterile instrument in under 10 minutes from start to finish.
However, flash sterilization comes with strict limitations. It should not be used for implantable devices, multiple instrument sets, or complex lumened items unless the sterilizer is validated for those loads. The CDC and AAMI ST79 caution that flash cycles are meant for urgency, not convenience. Key usage rules include:
- Use only for clean, single instruments or small non-porous loads.
- Never flash sterilize implants—the lack of post-cycle sterility monitoring creates unacceptable risk.
- Ensure the load is placed in an open tray or specially designed flash sterilization container.
- Transport the item to the point of use immediately in a sterile, covered container.
- Perform biological indicator testing at least weekly, and preferably daily in locations that routinely run flash cycles.
The temptation to use flash as a routine time-saver is real, but practices that over-rely on it risk exposing patients to inadequately sterilized instruments. In settings where rapid turnaround is a daily need, investing in a fast-cycle table-top pulse vacuum sterilizer with validated unwrapped programs is a safer operational choice than stretching flash protocols.
3 Key Variables That Affect Unwrapped Cycle Time
No two unwrapped loads behave identically inside the chamber. Exposure time recommendations exist as ranges precisely because three load characteristics can shift the required time by several minutes. Ignoring them leads to either under-sterilization or unnecessary cycle extension.
Load material and geometry is the dominant variable. Solid stainless steel heats quickly, but instruments with deep wells or narrow lumens trap air, preventing steam contact. A basic hemostat might reach 121°C in 3 minutes; a laparoscopic cannula can take three times as long. Pre-vacuum cycles address this by forcibly evacuating air, which is why lumened instruments always belong in a pre-vacuum, not a gravity, unwrapped cycle.
Load density and arrangement alters chamber dynamics. Stacking instruments on top of each other creates cold spots, especially in gravity units where steam must travel through dead spaces. A single neatly arranged tray sterilizes faster than a pile of mixed items. Even in unwrapped cycles, leaving space between instruments—avoiding direct contact—reduces the time needed to reach sterilization temperature.
Total load mass adds thermal inertia. A 2 kg solid orthopedic rod will draw heat out of the steam and prolong the come-up time. Heavier loads demand longer exposure to compensate for the energy absorbed during heating. The following comparison shows how these variables shift practical minimum times:
| Load Type | Example | Suggested Minimum Time | Comment |
|---|---|---|---|
| Single non-porous instrument | Scalpel handle, mirror | 15 minutes | Minimal mass, rapid steam contact |
| Multiple solid instruments in tray | 6–8 hemostats, forceps | 20 minutes | Moderate density; ensure spacing |
| Single instrument with short lumen | Biopsy forceps with channel | 4 minutes at 132°C pre-vacuum | Air removal requires dynamic vacuum; gravity cycle not recommended |
| Heavy solid orthopedic item | Large bone chisel, 1.5 kg | 20–25 minutes gravity | Extended time to heat the mass throughout |
These values are starting points, not substitutes for validation. Every facility should confirm cycle efficacy with biological indicators under actual load conditions—especially when introducing new instrument sets or switching sterilizer types.
How to Validate Your Unwrapped Sterilization Cycle
A timer on the autoclave is not a guarantee. Physical readings of temperature and pressure confirm that the chamber reached setpoints, but only biological indicators prove that the conditions were lethal to microbial life. An unwrapped cycle without verification is a bet against patient safety.
The validation routine combines three monitoring layers. Physical monitoring captures time, temperature, and pressure data from the sterilizer’s gauges or digital recorder. Every cycle printout or log should be reviewed before the load is released. Chemical indicators (CIs) placed at the most challenging locations in the load change color when exposed to steam, offering a quick visual check. But CIs can respond to heat alone—they don’t measure the actual microbicidal effect.
For that, you need biological indicators (BIs). Spore strips or self-contained vials of Geobacillus stearothermophilus are the gold standard. The process:
- Place a BI in the center of a typical unwrapped load or test pack simulating the hardest-to-sterilize instrument.
- Run the shortest routine unwrapped cycle you intend to use (for example, 15 minutes at 121°C gravity).
- Retrieve the BI, incubate it at the manufacturer’s specified temperature along with an unprocessed control.
- If the processed BI shows no growth after the incubation period (usually 24 hours), the cycle is validated for that load configuration.
- Repeat at least weekly, and any time load configuration changes or after major maintenance.
Some facilities use a process challenge device (PCD) that replicates lumened instrument conditions, providing an extra margin of safety. Document every result—audit logs are what stand between a sterilization failure and an HAI outbreak investigation.
Post-Sterilization Handling: Immediate Use vs. Short-Term Storage
Unwrapped items exit the sterilizer hot, wet, and completely vulnerable. Unlike wrapped packs that can be stored for months in a clean supply area, unwrapped instruments lose their sterile status the instant they touch a contaminated surface. The clock starts ticking as soon as the door opens.
The core rule: use immediately. If that’s not possible, place the instruments in a covered, dry, sterile tray or container and use them within a maximum of 7 days—provided the storage area is clean, temperature-controlled, and free from dust and moisture. This 7-day limit comes from long-standing infection control references, though many departments set stricter internal policies of 24–48 hours to minimize risk.
Key handling precautions include:
- Transfer instruments directly to a sterile field using aseptic technique—never let them touch an unprotected countertop.
- Cover the transport tray with a sterile lid or drape; do not use towels that shed lint.
- Store away from areas with turbulent airflow, such as near doors or supply carts.
- Label the container with the sterilization date and time so end users can confirm the item is still within the allowed storage window.
- Discard or reprocess any unwrapped item that has been stored beyond the validated time or shows signs of moisture.
The short storage window is the price paid for the cycle time savings. For clinics that need sterile items on hand at all times, the better solution is to move to wrapped sterilization and invest in a sterilizer with drying capability suited to packaged loads.
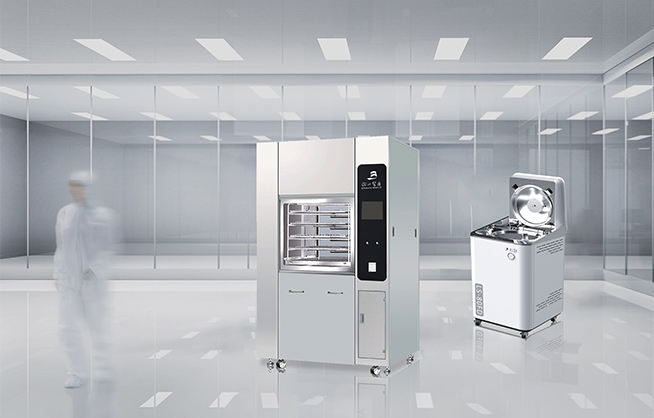
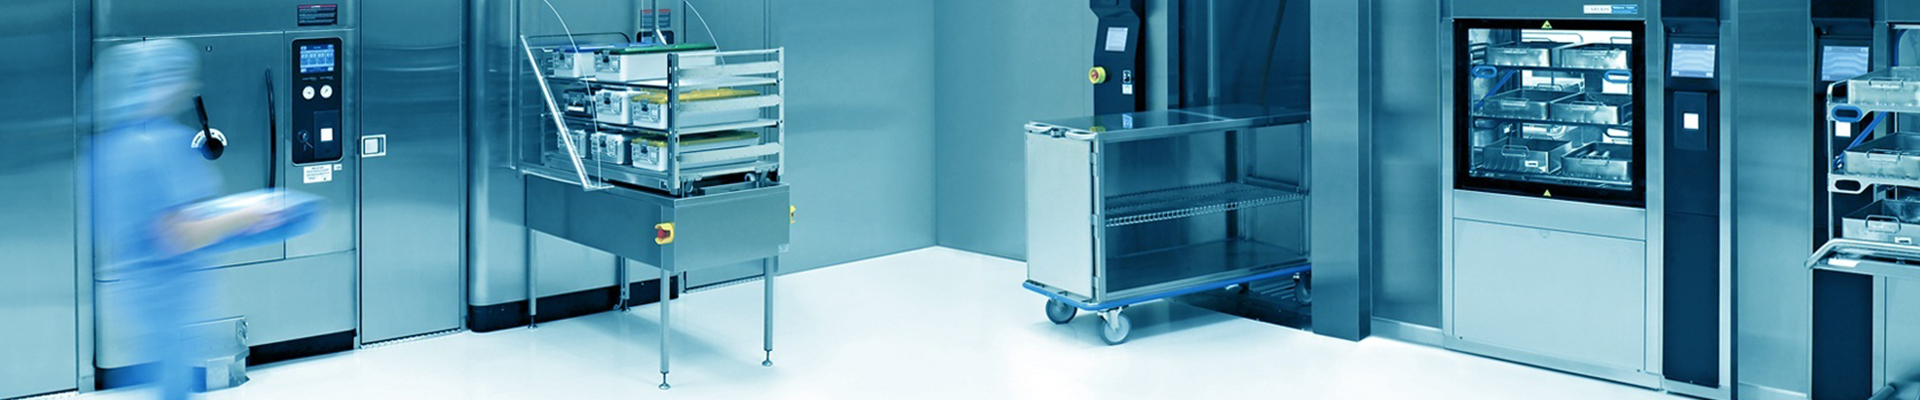
Choosing the Right Autoclave for Unwrapped Cycles
Not every sterilizer handles unwrapped loads efficiently. Gravity units are simple and reliable for basic solid instruments, but they require longer exposure times and struggle with lumens. Pre-vacuum autoclaves—often called Class B sterilizers—use multiple vacuum pulses to remove air, enabling the shortest unwrapped cycles and ensuring steam penetration even into complex designs.
For a small dental clinic that processes mostly handpieces and simple instruments, a bench-top gravity model with a dedicated unwrapped program works well. A busy ambulatory surgery center managing cannulated instruments, however, should choose a pre-vacuum unit to keep cycle times under 20 minutes overall. The table below summarizes the match:
| Facility Type | Recommended Autoclave | Cycle Time Advantage | Load Compatibility |
|---|---|---|---|
| Small dental clinic | Table-top gravity or Class S | 15–20 min at 121°C | Solid instruments, handpieces |
| Ophthalmic surgery center | Table-top pre-vacuum Class B | 3–4 min at 132°C | Delicate cannulated instruments |
| Hospital CSSD | Large pre-vacuum (pulse vacuum) | 3–4 min at 132°C | Complex trays, mixed lumened loads |
| Veterinary clinic | Vertical pre-vacuum or gravity | 10–20 min | Solid instruments, occasional packs |
Facilities handling dense loads or challenging wrapped/unwrapped mixes often turn to vertical pulse vacuum autoclaves that provide deep air removal and programmable unwrapped cycles. Investing in the right technology means sterilizing faster without compromising safety—a direct payoff in both patient throughput and infection control confidence.


