English
 русский
 Français
 Español
 Indonesia
 Deutsch
 عربى
عربى 中文简体
中文简体


Helix Test for Autoclaves: Steam Penetration, Steps, and Pass/Fail Results
Posted by Admin | 16 Oct
Content
- 1 What the Helix Test Actually Checks
- 2 When to Run a Helix Test
- 3 Step by Step: Running the Test Without Guesswork
- 4 Reading the Result: Pass, Fail, and What to Do Next
- 5 Helix Test vs Bowie-Dick vs Vacuum Test
- 6 Common Reasons a Helix Test Fails
- 7 Helix Testing in Dental and Clinic Settings
- 8 Documentation and Routine Monitoring
- 9 Choosing an Autoclave That Supports Proper Helix Testing
- 10 A Small Test With a Big Job
Ask anyone who runs a busy sterilization area what worries them most, and you will usually hear the same answer: the load that looks fine but is not. The helix test is one of the simplest ways to catch that problem before a patient or a research sample is exposed. It is a process challenge device, or PCD, built around a narrow spiral tube and a chemical indicator. In plain terms, it asks a direct question: can saturated steam reach the inside of a long, narrow hollow instrument, or is air still in the way?
For clinics, dental practices, and laboratories using Class B autoclaves, that question comes up every day. Dental handpieces, cannulas, tubing, and other hollow items are exactly where poor air removal can hide. A helix test gives the sterilization cycle a chance to prove itself under conditions that are closer to real life than an empty chamber alone.
What the Helix Test Actually Checks
An autoclave does not sterilize with heat alone. It relies on saturated steam, and steam can only reach the surface of an instrument if air has been removed first. Class B cycles use fractionated vacuum, pulling air out in pulses before the sterilization phase. The helix test places a chemical indicator at the far end of a narrow tube. If air removal is incomplete, steam cannot travel the full length of the tube, and the indicator will not change color completely.
That is why the helix test is often described as a steam penetration test for hollow loads. It is not a biological indicator, and it is not a vacuum leak test. It is a focused check of air removal and steam penetration, and it belongs in a routine monitoring plan alongside other checks. The test is most closely associated with Class B autoclaves, especially small table-top and dental units, but the principle applies wherever hollow instruments are processed.
When to Run a Helix Test
Most clinics and laboratories run a helix test at the start of the working day, before the first load is released. It is also wise after installation, after a major repair, after changing a door gasket or vacuum pump, and whenever a cycle fails or a load is rejected. Your local infection control policy and the sterilizer manufacturer's instructions should set the final frequency.
Consistency matters more than drama. Use the same cycle, the same test position, and the same reading light each time. The test is only meaningful when it challenges the same air removal path used for routine loads, so do not invent a short cycle just to save a few minutes.
Step by Step: Running the Test Without Guesswork
The helix test is quick, but small mistakes can make the result meaningless. Set aside a clean, uncluttered space and work through the steps in order.
- Check the indicator strip and tube. Confirm the expiry date, storage conditions, and physical condition. A damaged tube or a strip stored near heat or moisture is not a fair test.
- Assemble the PCD exactly as the manufacturer instructs. Do not loosen the tube, force the cap, or substitute parts from another system.
- Place the helix device in the chamber according to your protocol, usually in the least favorable position for steam penetration, such as near the door. Avoid letting it touch the chamber walls.
- Select the specified Class B cycle. This is often a 134°C fractionated vacuum cycle, but follow the sterilizer manufacturer's instructions for your unit.
- Run the cycle and let the test device cool as directed before reading. Interpreting a hot or wet indicator can lead to a false conclusion.
- Read the color change against the reference, record the result, and attach it to the cycle record. If the result is unclear, treat it as a fail.
If you are setting up a Class B workflow and want a unit built around fractionated vacuum cycles, our class B table-top pulse vacuum steam sterilizer is one option in our range.
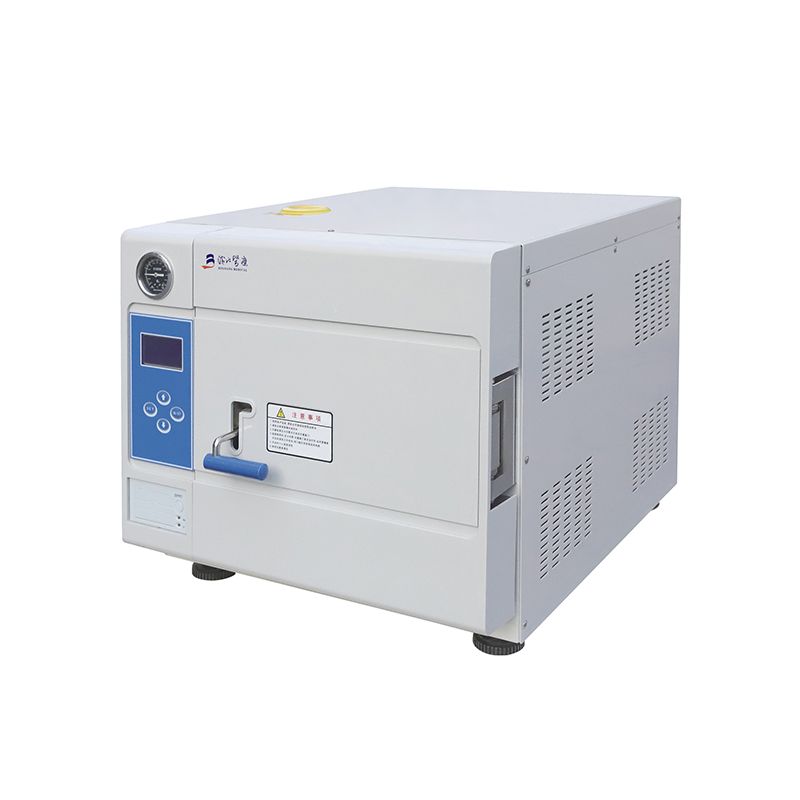 Class B Table-Top Pulse Vacuum Steam SterilizerA table-top Class B sterilizer with fractionated vacuum cycles, touch LCD, built-in printer, and safety systems for dental, clinic, and laboratory instrument loads.View Product →
Reading the Result: Pass, Fail, and What to Do Next
A pass means the indicator has changed to the specified color completely and evenly. A fail means there is no color change, a partial change, a patchy result, or a strip that looks damp or distorted. Do not release the load on a doubtful result. Remove the test device, check that the correct cycle was selected, confirm the PCD was assembled correctly, and repeat the test in a clean, empty chamber.
If the repeat test also fails, look at the machine rather than the test. Door seals, chamber drains, valves, vacuum pump performance, water quality, and load placement are all common culprits. A helix failure is useful information, not a reason to run the test again and again until it turns black.
Helix Test vs Bowie-Dick vs Vacuum Test
These tests are often mentioned together, but they answer different questions. The Bowie-Dick test checks air removal and steam penetration in a porous load. The helix test focuses on narrow hollow spaces. A vacuum leak test checks whether the chamber can hold vacuum. None of them replaces the others.
| Test | Main question | Typical use | What a pass suggests |
|---|---|---|---|
| Helix test | Can steam penetrate a narrow hollow space? | Class B cycles and hollow instruments | Air removal and steam penetration are adequate for the tested cycle. |
| Bowie-Dick test | Is steam penetration uniform in a porous load? | Porous loads and wrapped goods | The cycle can remove air and distribute steam through porous material. |
| Vacuum leak test | Does the chamber hold vacuum? | Before the first cycle or after service | No significant air leak is affecting vacuum. |
| Biological indicator | Did the cycle kill resistant spores? | Routine validation and load release | The sterilization process achieved microbial inactivation in the test pack. |
The helix test is a narrow, practical check. It does not prove that every item in a mixed load is sterile, and it should not be used as a substitute for the monitoring required by your local policy.
Common Reasons a Helix Test Fails
When a helix test fails, the cause is often ordinary rather than exotic. Start with the simple things before assuming the sterilizer needs major service.
- A worn door gasket or a door that is not sealing properly.
- An air leak in the chamber, valves, or fittings.
- Reduced vacuum pump performance.
- The wrong cycle selected, or a cycle that does not use fractionated vacuum.
- An overloaded chamber or a PCD placed in a poor position.
- Wet steam, poor water quality, or a chamber that is not properly dried.
- An expired indicator or one stored in heat or humidity.
Work from the outside in: correct cycle, correct PCD, correct position, valid indicator, then the machine. That order saves time and keeps the investigation honest.
Helix Testing in Dental and Clinic Settings
Dental handpieces and other hollow instruments are the classic use case for the helix test. The test is fast enough for a busy clinic, but it only works when the PCD is positioned properly and the cycle is a true Class B cycle. In a small practice, the first load of the day often sets the tone for everything that follows.
Our dental-used table-top steam sterilizer is designed for the small, repeated loads common in clinics, with the chamber format and cycle control that make routine testing easier to manage.
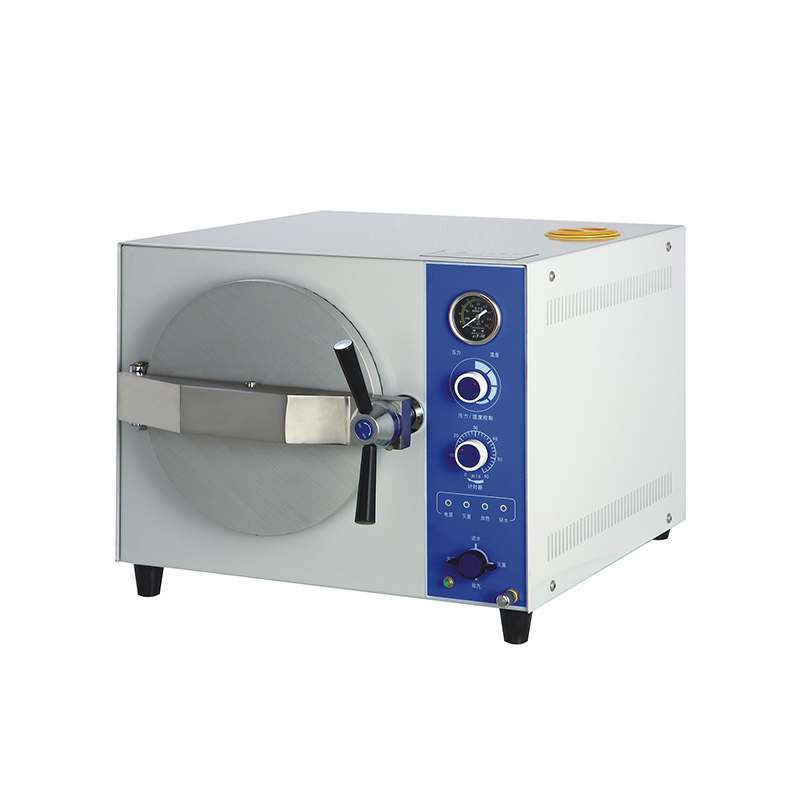 Dental Table-Top Steam Sterilizer for Dental InstrumentsA table-top dental sterilizer offering rapid 4–6 minute cycles, internal steam-water circulation, drying, and automatic safety protection for small, repeated instrument loads.View Product →
Documentation and Routine Monitoring
A helix test is only as good as its record. Write down the date, time, sterilizer ID, cycle selected, operator, indicator lot, PCD lot, result, and any action taken. Keep the records for the period required by your policy, and look for patterns. Two failures in a week are not bad luck; they are a reason to stop and investigate.
Routine verification is broader than one test. Our article on autoclave sterilization effect verification walks through the wider monitoring picture, including how the helix test fits alongside other checks.
Choosing an Autoclave That Supports Proper Helix Testing
Not every small sterilizer is Class B, and not every Class B unit is easy to test well. Look for fractionated vacuum, a chamber layout that lets you place the PCD near the door, clear cycle data, and accessible service. Those details matter more than a long feature list when a test fails at 8 a.m. and patients are waiting.
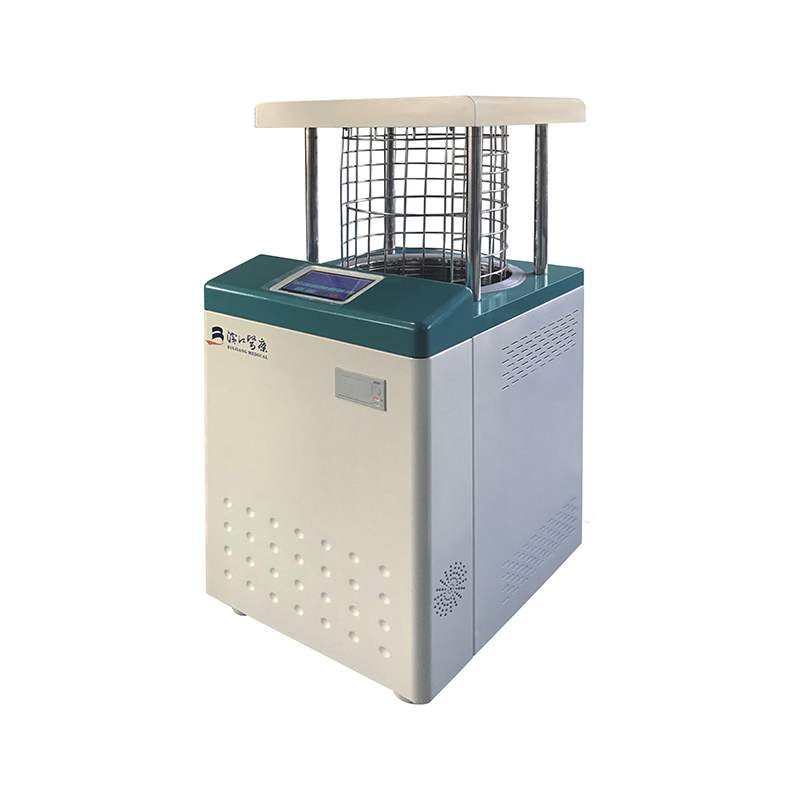
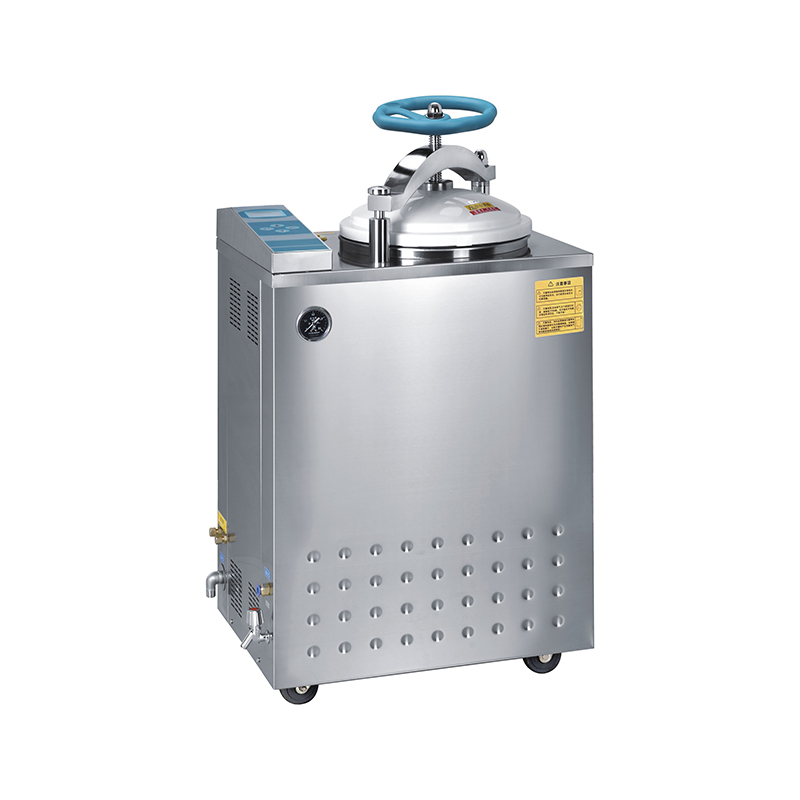
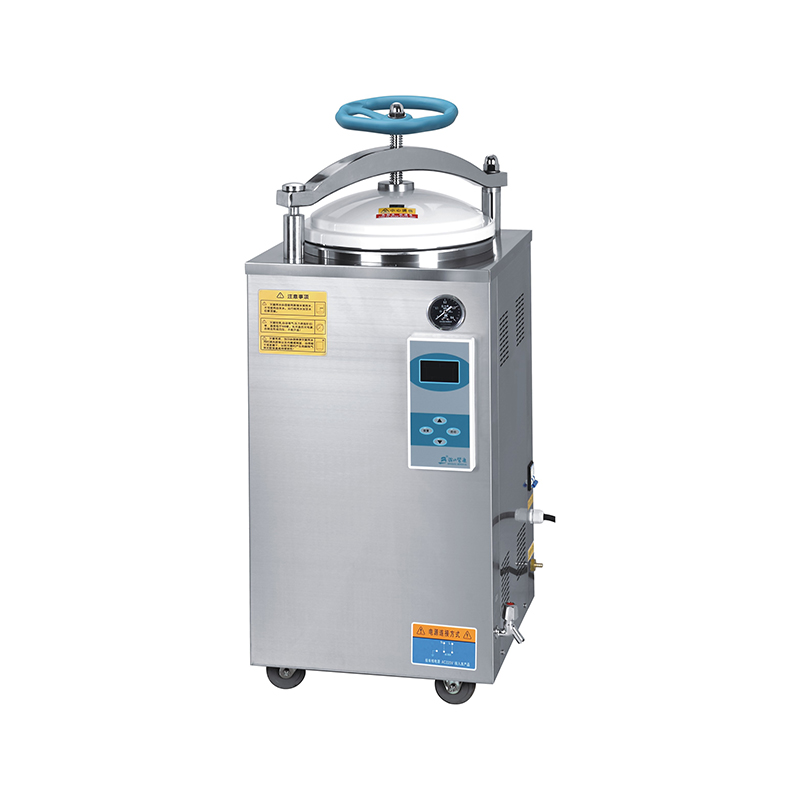
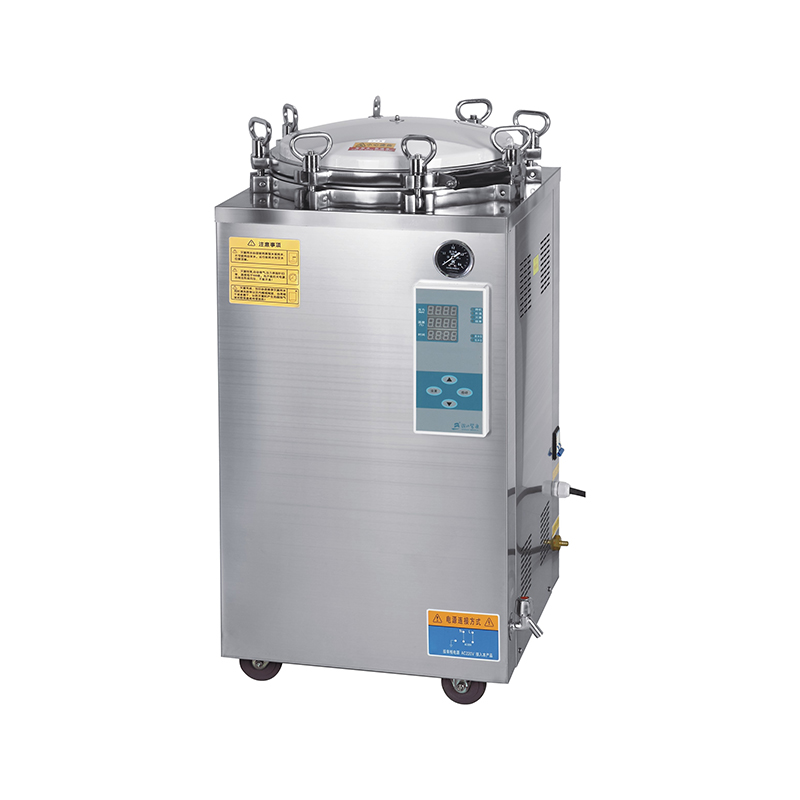
For larger workloads, a vertical pulse vacuum sterilizer can bring fractionated vacuum into a compact floor-standing format while keeping routine testing practical.
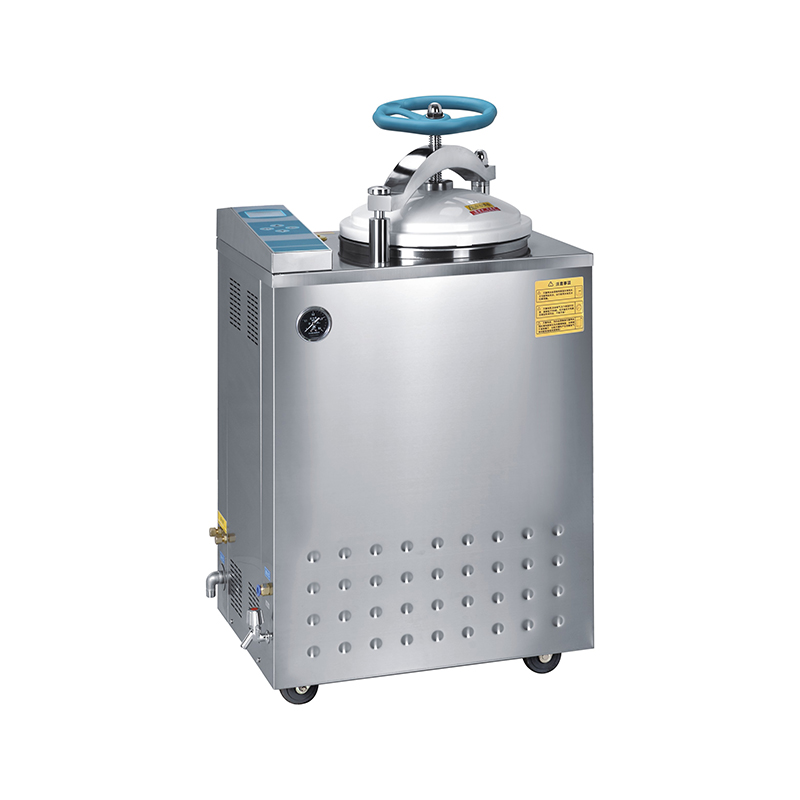 Vertical Pulse Vacuum Steam Sterilizer for Larger WorkloadsA floor-standing vertical sterilizer with microcomputer control, three pulse vacuum cycles, bacterial filter, and internal steam-water circulation for larger instrument, fabric, and media loads.View Product →
A Small Test With a Big Job
The helix test is not glamorous. It is a narrow tube, a strip, and a color change. But it answers a question that matters every day: is steam actually reaching the places that are hardest to sterilize? Run it deliberately, read it honestly, record it clearly, and investigate failures instead of explaining them away. That is how a simple routine test becomes real protection.