English
 русский
 Français
 Español
 Indonesia
 Deutsch
 عربى
عربى 中文简体
中文简体
Designing a Dental Sterilisation Room: Layout, Zones and Equipment Choices
Posted by Admin | 10 Oct
Content
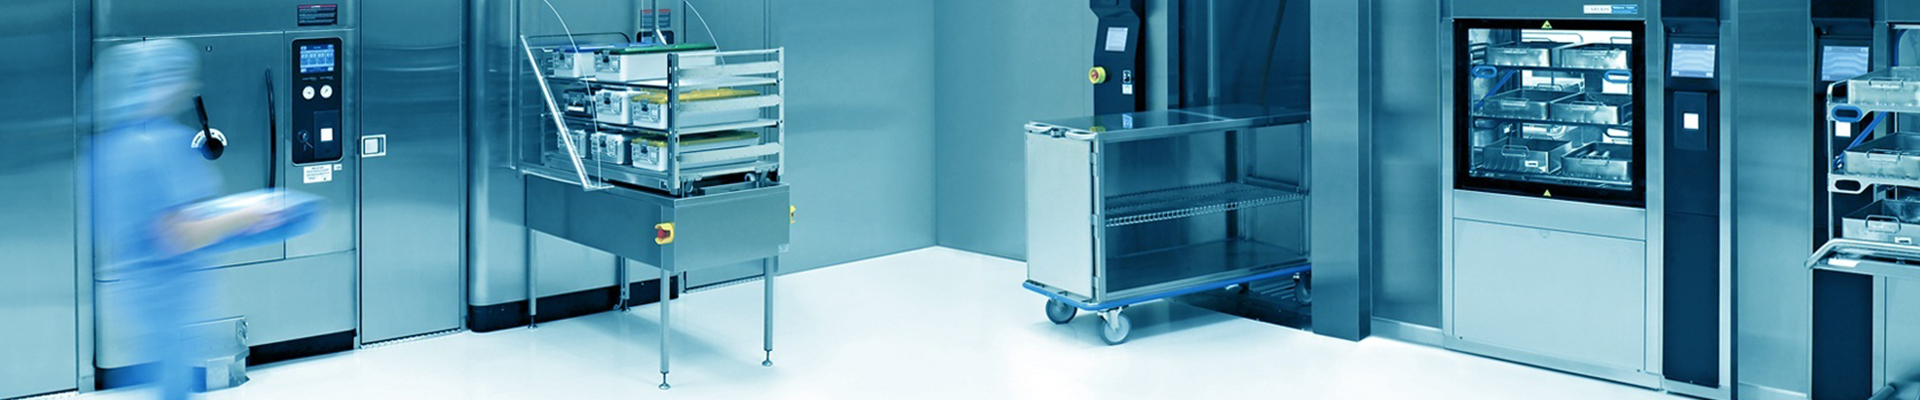
A dental sterilisation room is rarely the biggest space in a practice, yet it is often the busiest. Every contaminated instrument that leaves a surgery passes through it, and nothing should go back to a patient until it has been cleaned, inspected, packed, sterilised and stored properly. After more than two decades of building sterilisation equipment and talking with clinicians, we have seen how much difference a well-planned room makes. When the layout is right, reprocessing feels calm and repeatable. When it is wrong, staff improvise, turnaround stretches, and small compliance gaps quietly appear. This guide walks through the decisions that matter most: zoning, space, doors and airflow, equipment selection, and the daily habits that keep a room working.
What a Dental Sterilisation Room Actually Has to Do
A sterilisation room is a small production line, and it only works when every step has a home. Contaminated instruments arrive from the surgeries, are cleaned and rinsed, dried and inspected under good light, packed and labelled, and then loaded into the sterilizer. When a cycle ends, the packs need somewhere clean, dry and quiet to cool before they are stored.
Each step asks something slightly different of the room. The dirty end needs extraction, sealed surfaces and room to work without brushing against anything clean. The packaging end needs bright, even light, a stable bench and a short walk to the sterilizer. Storage needs dust-free shelving and low foot traffic. When all three compete for the same two metres of counter, one of them always loses.
Start With a Three-Zone Layout
Almost every infection-control framework for dental practice points the same way: work should travel in one direction, from contaminated to sterile, and never turn back. In a typical clinic that means three zones, which can sit in a single room or in two rooms joined by a door or a pass-through hatch.
| Zone | Main activity | What it needs |
|---|---|---|
| Reception and decontamination | Receiving, pre-soaking, cleaning and rinsing | Local extraction, sealed surfaces, dedicated sink, PPE station |
| Inspection and packaging | Drying, checking, wrapping, labelling | Bright even light, clean bench, sealers, indicator stock |
| Sterile storage | Cooling and storing wrapped packs | Enclosed shelving, low traffic, dust-free, stable humidity |
Splitting the room this way is not bureaucracy. It removes the moment where a cleaned instrument is set down beside a contaminated one, which is exactly where most reprocessing errors begin. Cleaning sits at the start of that chain, and manual scrubbing alone rarely reaches the inside of a handpiece or the hinge of a ratchet, which is why most practices place an ultrasonic cleaner beside the decontamination sink.
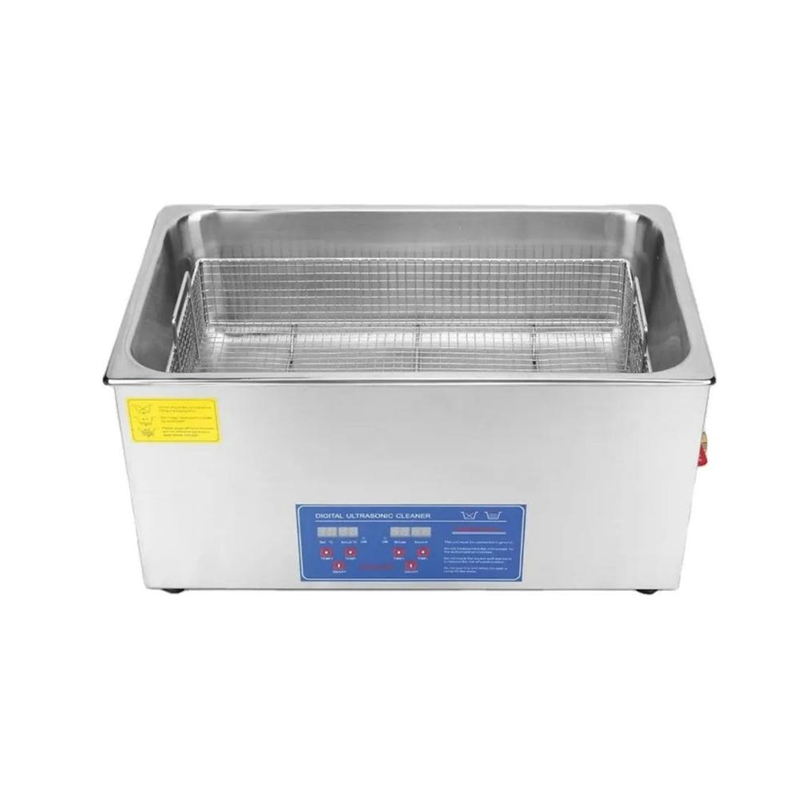 Microprocessor-Controlled Ultrasonic Cleaner for Medical InstrumentsPositioned beside the decontamination sink, this microprocessor-controlled ultrasonic cleaner uses cavitation to clean delicate medical instruments, reaching microscopic crevices that manual scrubbing may miss.View Product →
Size, Doors and Airflow
Room size is usually fixed long before anyone chooses a sterilizer, but it is worth checking that the room can hold the work. A practical starting point for a single-chair practice is enough bench for two people to work without crossing over, plus standing room at both the decontamination sink and the sterilizer door.
Where space allows, two doors or a pass-through between the dirty and clean areas make one-way flow almost automatic. Where it does not, a single-door room can still work if the sequence of work is disciplined and only one activity runs at a time.
Air should move from the cleaner end of the room toward the dirtier end, with the decontamination area held under slight negative pressure relative to neighbouring spaces. Supply diffusers should never blow straight across a clean bench or an open sterilizer door. Because steam sterilizers release heat and moisture, extract ventilation has to cope with a full day of cycles, and the room should stay within a comfortable temperature and humidity band so packs dry properly.
Water deserves the same attention. Keep the instrument washing sink separate from the hand-wash basin, and feed the sterilizer with softened or distilled water. Mineral-rich tap water is the most common cause of scaling, sticky valves and shortened element life.
Choosing a Sterilizer That Fits the Room
Equipment should be chosen for the room and the workload, not the other way round. Bench depth, loading height, door swing, ventilation clearance and service access decide whether a unit is pleasant to use forty times a week or quietly infuriating. A chamber that sits too high, or is mounted so staff must reach across a wet sink, will be loaded carelessly over time.
For most dental clinics a bench-top unit is the sensible answer, and a Class B pulse-vacuum chamber is usually the right specification, because it removes air reliably from wrapped instruments, hollow items and narrow lumens. Our own 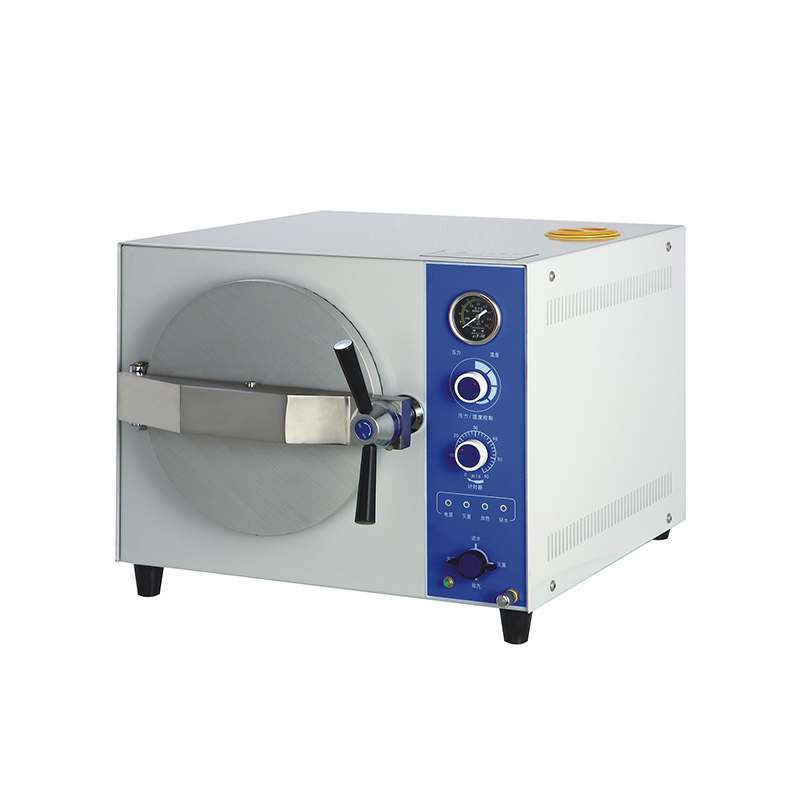 Dental Tabletop Steam Sterilizer with Drying FunctionFor dental sterilization after cleaning, this tabletop steam sterilizer offers drying and steam-water inner circulation with rapid 4–6 minute cycles.View Product → is built around exactly that pattern of work, with chambers sized for a normal dental day.
Sizing a chamber in plain terms
- Count the instruments reprocessed on your busiest day, then allow roughly a third more capacity for growth and for days when every chair runs late.
- Think about how the load arrives. Cassettes, wrapped trays and loose instruments fill a chamber very differently for the same number of items.
- Weigh cycle time against load size. Two smaller loads are often quicker than one large one when trays must be unpacked and repacked to fit.
- Check the working height. Loading a warm chamber should never require a stool or an awkward reach.
Air, Water and Surfaces: The Parts People Forget
A steam sterilizer sterilises the load, not the room, and a dental sterilisation room generates its own air quality problem. Cleaning and rinsing produce aerosols, so extraction at the sink matters as much as extraction above the tray. In compact rooms with limited fresh-air supply, a dedicated air sterilizer helps keep background air quality steady between procedures, especially in shared or windowless spaces.
Where the room has no outside wall for ventilation, a mobile plasma unit can simply be repositioned between the dirty bench and the storage shelving as the day's work shifts.
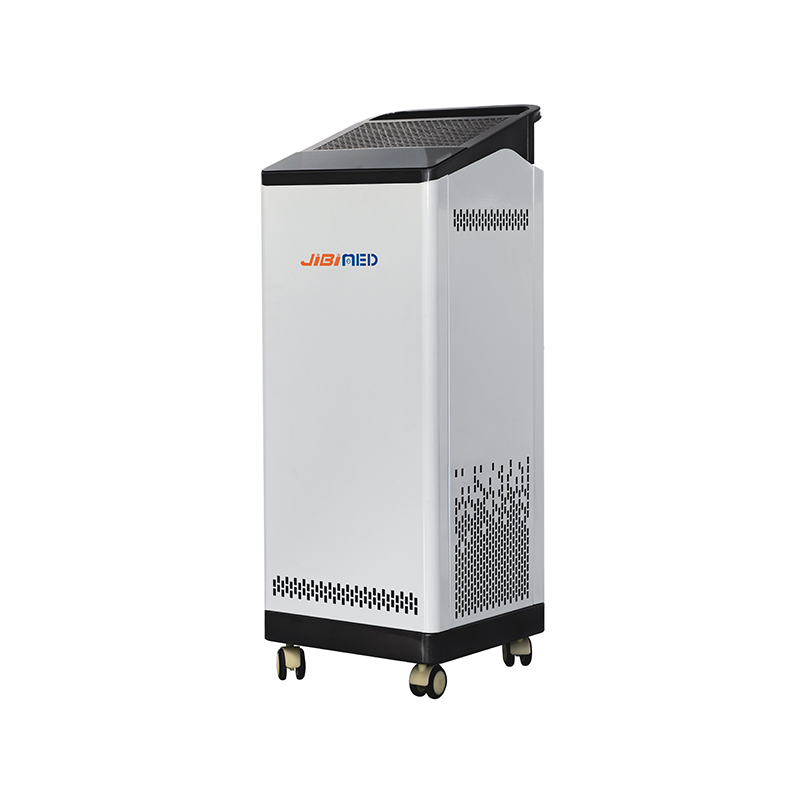 Mobile Plasma Air Sterilizer Series BJ-100Y/BJ-120YFor windowless rooms, this mobile plasma air sterilizer can be repositioned between dirty and clean zones, using microcomputer control for flexible air disinfection.View Product →
Hard surfaces are the other quiet variable. Benches, splashbacks and shelving should be smooth, joint-free and tolerant of daily disinfection. Wood, unsealed grout and fabric all hold moisture and soil in ways that make routine cleaning slower than it needs to be.
Planning Mistakes We See Again and Again
- The room is treated as whatever space is left over after the clinical rooms are drawn.
- One bench is expected to serve cleaning, packing and storage at the same time.
- The instrument sink and the hand-wash basin end up sharing a single tap.
- Ventilation is sized for comfort rather than for steam, heat and aerosols.
- Nobody plans where hot packs will cool, so they land on the packaging bench.
- Storage is open shelving in a corridor, so packs sit in traffic and daylight.
None of these are costly to fix on paper. All of them are expensive to fix once the room is tiled and the plumbing is in.
Commissioning and Daily Habits
Once the room is built, the equipment still has to prove itself. Air removal checks, biological indicators and cycle records turn a room from something that looks fine into something documented, and the paperwork needs to live within arm's reach of the sterilizer.
Day to day, the habits that matter are simple: keep the dirty bench clear of clean items, log every cycle, check indicators before release, and never store a warm pack in a closed cupboard. If you are planning a new room or refitting an old one, our guide to autoclave room design and safety requirements covers ventilation, electrical and service considerations in more detail.
It also helps to look at hardware in the context of your own room. Comparing bench-top steam sterilizers side by side, with chamber volumes and footprints in front of you, is far more useful than guessing from a specification sheet.
A dental sterilisation room does not have to be large or expensive, but it does have to be thought through. Get the three zones right, give air and water proper attention, choose a sterilizer that suits the bench and the workload, and the room repays it every single day in shorter turnarounds, calmer staff and cleaner records. That is the part patients never see, and the part that keeps them safe.