English
 русский
 Français
 Español
 Indonesia
 Deutsch
 عربى
 中文简体



Proper Way to Wrap Hinged Instruments for Steam Sterilization | JIBIMED
Posted by Admin | 20 Nov
Content
Hinged instruments such as scissors, hemostats, forceps, and needle holders are everyday items in sterile processing. They are also some of the easiest to wrap incorrectly. Their box locks, ratchets, and screw joints create tight spaces where steam must reach every surface. If you close a hinged instrument before wrapping, you may block steam from contacting the mating surfaces, and the item will not be reliably sterilized. This guide explains the proper way to wrap hinged instruments, from opening the ratchet to sealing and labeling the package.
Why Hinged Instruments Need Special Attention
A hinged instrument is not a flat surface. When the ratchet is closed, the box lock and the area between the jaws become difficult for steam to penetrate. Standards such as AAMI ST79 and EN ISO 17665 emphasize that instruments with hinges, ratchets, or lumens must be opened so the sterilant can contact all surfaces. In practice, that means opening the ratchet to the first notch or fully open, depending on the instrument design and your facility's policy.
There is also a handling risk. Sharp tips and pointed jaws can puncture a wrap, creating a pathway for microorganisms after sterilization. A small puncture may not be visible during a quick inspection, but it compromises the sterile barrier. Proper wrapping therefore has two goals: allow steam to reach the hinge and protect the wrap from damage.
Step-by-Step: The Proper Way to Wrap Hinged Instruments
1. Inspect and Prepare the Instrument
Start with a clean, dry instrument. Inspect the hinge, ratchet, and jaws for debris, damage, or corrosion. Open the ratchet to the first notch or fully open according to the manufacturer's instructions. Do not apply a thick lubricant that can trap soil or block steam; if lubrication is required, use a steam-permeable instrument lubricant and follow the manufacturer's directions. A dry instrument is essential because trapped moisture can interfere with the sterilization cycle.
2. Protect Sharp Tips Without Covering the Hinge
Use a steam-permeable tip protector, foam guard, or silicone mat for sharp or delicate tips. The protector should be loose enough to allow steam and condensate to move freely. Never wrap the hinge itself in foam or tape, because that can insulate the box lock and prevent steam contact. If you use a protective mat, place it under the instrument rather than folding it over the working end.
3. Choose a Compatible Sterilization Wrap
Use a medical-grade wrap intended for steam sterilization, such as SMS non-woven, crepe paper, or cotton muslin. The wrap must be permeable to steam and air, and it must be strong enough to resist punctures. Avoid plastic bags, newspaper, towels, or non-sterilization fabrics. If your facility uses double wrapping, make sure both layers are compatible and that the inner layer does not trap air. For more detailed guidance on packaging area workflow, see the inspection, packaging, and sterilization area resource.
4. Wrap with an Envelope or Square Fold
Place the open instrument in the center of the wrap. Use an envelope fold: bring one corner over the instrument, fold in the sides, and then fold the final corner. A square fold is also acceptable if it creates a secure, compact package. The wrap should be snug but not tight. You need enough space for steam to circulate, and you should avoid compressing the instrument against the wrap. Secure the package with sterilization tape, not rubber bands, pins, or clips that can puncture the wrap.
5. Add Indicators, Seal, and Label
Place a chemical indicator inside the package, near the instrument, so it can be seen after the cycle. Use external indicator tape on the outside of the package. Label the package with the date, sterilizer identifier, cycle, and contents. This information supports traceability and helps staff identify the correct load. For broader sterile packaging principles, review sterile packaging guidance.
6. Load the Sterilizer Correctly
Place packages on edge rather than flat when the sterilizer manufacturer allows it. Standing packages on edge supports air removal and steam penetration. Do not overcrowd the chamber, and do not stack heavy items on top of wrapped hinged instruments. Follow the sterilizer manufacturer's load configuration instructions and your facility's validated procedures.
Choosing the Right Wrap Material
The wrap you choose affects steam penetration, puncture resistance, and drying time. The table below compares common options for hinged instruments.
| Wrap Material | Steam Penetration | Puncture Resistance | Best Use | Practical Notes |
|---|---|---|---|---|
| SMS non-woven | Excellent | High | General hospital and clinic loads | Low lint; check compatibility with your sterilizer |
| Crepe paper | Good | Moderate | Small to medium instrument sets | Cost-effective; avoid moisture damage |
| Cotton muslin | Good | Moderate | Reusable textile packs | Requires controlled laundering and inspection |
| Rigid container | Good with filters | Very high | Heavy or sharp instrument sets | Use validated filters and gaskets |
Whichever material you select, confirm that it is validated for the sterilization cycle you use. A wrap that works well in a gravity displacement sterilizer may behave differently in a pre-vacuum cycle.
Common Mistakes to Avoid
- Closing the ratchet before sterilization. This is the most common error and can prevent steam from reaching the box lock.
- Wrapping too tightly. A compressed package restricts steam movement and can prolong drying.
- Using non-permeable materials. Plastic, foil, and coated paper can block steam and ruin the cycle.
- Overloading the sterilizer. Crowded chambers reduce air removal and steam circulation.
- Forgetting the internal chemical indicator. Without it, you cannot confirm that the package was exposed to the sterilization process.
- Using rubber bands, pins, or sharp clips. These can puncture the wrap or leave marks that weaken the sterile barrier.
- Wrapping wet instruments. Residual moisture can interfere with sterilization and extend drying time.
- Reusing disposable wrap. Single-use wraps are designed for one cycle only.
Matching the Wrap to Your Sterilizer
Hinged instruments benefit from good air removal. Pre-vacuum sterilizers are often preferred because they remove air from the chamber and the load more effectively than gravity displacement units. For small clinics and dental offices, a table-top pulse vacuum sterilizer can handle wrapped hinged instruments with a validated cycle.
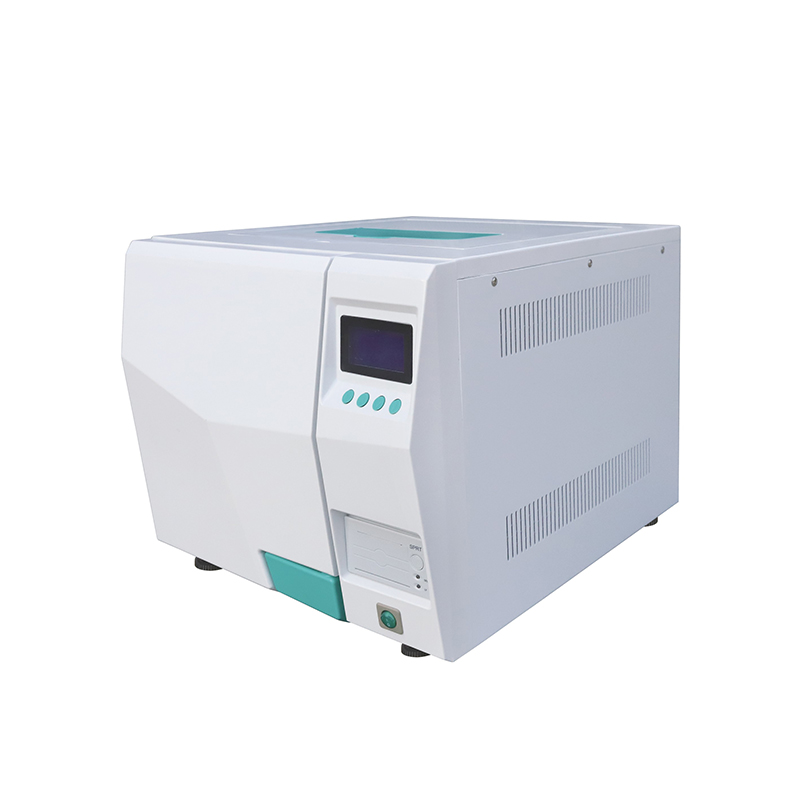 Table Top Pulse Vacuum Steam SterilizerFor small clinics and dental offices, this compact Class B unit supports wrapped hinged instruments with pulse vacuum and drying cycles.View Product →
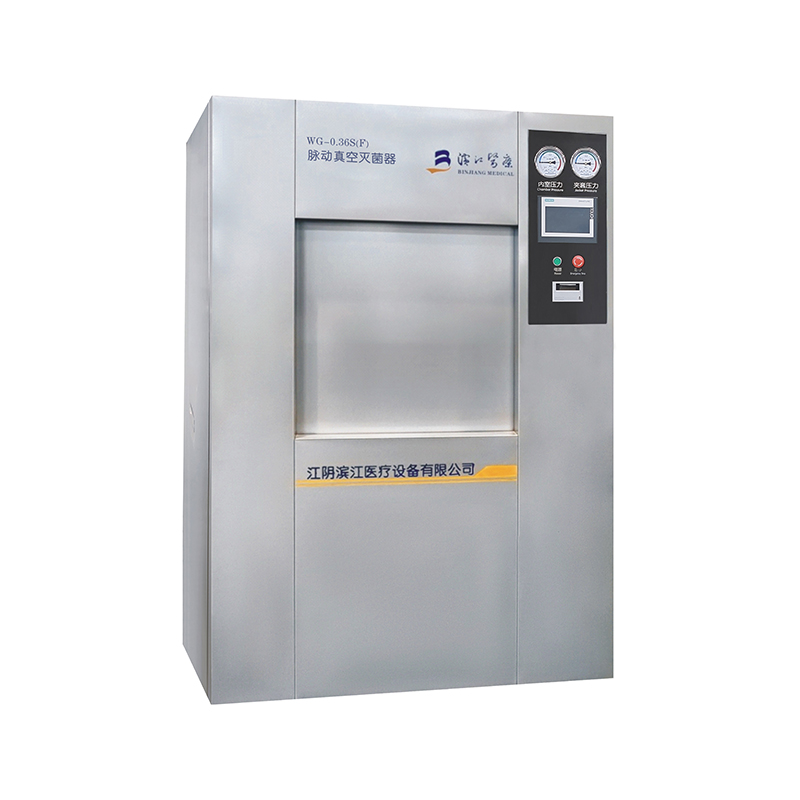
For larger instrument sets and higher throughput, a horizontal pulse vacuum sterilizer provides chamber space and steam penetration for wrapped loads in a central sterile services department.
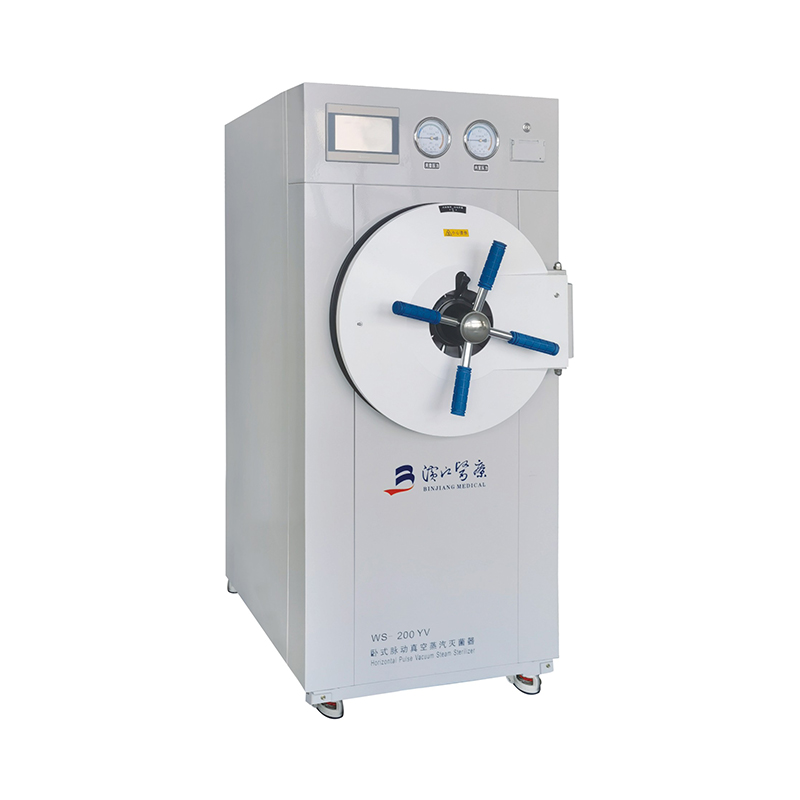 Horizontal Pulse Vacuum Steam SterilizerFor larger wrapped loads and higher throughput, this horizontal unit offers pulsating vacuum, jacket drying, and chamber volumes from 100 to 300 L.View Product →
Dental practices often need a compact cycle that matches the small size of hand instruments. A dental table-top steam sterilizer can be paired with appropriate wrap and tip protection for routine hinged instruments.
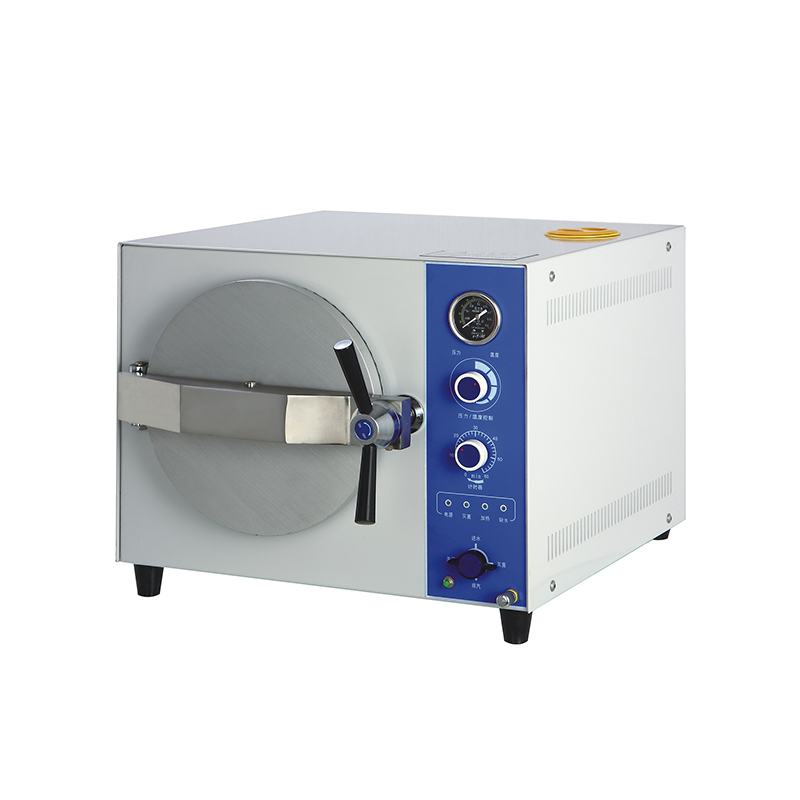 Dental Table Top Steam SterilizerA compact dental tabletop sterilizer with stainless steel chamber, rapid 4–6 minute cycle, drying function, and automatic safety protection for routine hand instruments.View Product →
Final Thoughts
The proper way to wrap hinged instruments comes down to three habits: open the hinge, protect the tip without blocking steam, and use a validated wrap and sealing method. When you combine those habits with correct loading and cycle monitoring, you give every hinged instrument the best chance of reaching the patient in a safe, sterile condition.