English
 русский
 Français
 Español
 Indonesia
 Deutsch
 عربى
عربى 中文简体
中文简体


class 1 chemical indicator: Applications, Selection Criteria, and Practical Guidance
Posted by Admin | 28 Sep
Content
Every sterile processing department keeps a roll of it within arm's reach. Autoclave tape, the printed mark on a peel pouch, the small strip stuck across a wrapped tray: these familiar items are all class 1 chemical indicators, and they do one job very well. They tell you at a glance that a package has been through the sterilizer. What they cannot do is prove that the load is sterile.
We have spent more than two decades manufacturing steam sterilizers for hospitals, laboratories, dental clinics, pharmaceutical plants, and veterinary practices, and we have watched how easily that color change gets over-interpreted. Understanding what a class 1 indicator is, and what it is not, makes a sterilization workflow both safer and easier to document.
What Is a Class 1 Chemical Indicator?
A class 1 chemical indicator, also called a process indicator, is the first of six indicator types defined in the ISO 11140-1 standard. Its purpose is deliberately narrow: it responds to one or more critical variables of the sterilization process and produces a visible change, normally a color shift, once the item or pack has been directly exposed to that process.
Because the definition concerns exposure rather than achievement, class 1 indicators are almost always applied to the outside of a package. Familiar examples include autoclave tape used to seal wrapped instruments, the indicator printed on paper and plastic peel pouches, and indicator labels fixed to rigid containers or trays.
- Applied externally, on the outside of packs, pouches, and containers
- Reacts to process exposure, most often temperature in the presence of steam
- Produces a clear visual change, such as pale cream turning dark brown
- Separates loads that have been processed from those that have not
That last point is where much of the value sits. On a busy morning in a decontamination area, the fastest way to know whether a tray has already been through the autoclave is to look at the indicator. It is a logistical checkpoint as much as a technical one.
How a Class 1 Indicator Actually Works
Most class 1 indicators rely on a thermochromic ink printed or coated onto paper, tape, or film. The ink is formulated to change color once a threshold condition is reached, typically the combination of heat and moisture inside a steam sterilizer. Some formulations also depend on exposure time, but the class 1 definition asks only that processed and unprocessed items can be distinguished.
That limitation deserves attention. A tape that darkens after a 134 °C cycle and one that darkens after a 121 °C cycle may look identical, and neither tells you how long the temperature was held. Modern lead-free inks have largely replaced heavy-metal formulations, which simplifies waste handling, but the underlying principle is unchanged.
Handling matters too. Indicator inks can be affected by light, heat, humidity, and chemical vapors during storage, so keep unopened rolls and strips in their original packaging, away from the sterilizer and away from chemical stores. Writing across the printed indicator, compressing packs so the ink is squeezed, or layering a second strip of tape over the first can all interfere with a clean reading.
What a Class 1 Indicator Can and Cannot Tell You
Because six indicator types exist, it helps to see class 1 in context. The table below summarises how the ISO 11140-1 types differ in function.
| ISO type | Function | What it indicates | Typical example |
|---|---|---|---|
| Type 1 | Process indicator | Direct exposure to the sterilization process | Autoclave tape, pouch indicator marks |
| Type 2 | Specific-use indicator | A defined test procedure performed in the sterilizer | Bowie-Dick test pack |
| Type 3 | Single-variable indicator | One critical variable at a stated value | Chemical pellet that melts at a set temperature |
| Type 4 | Multi-variable indicator | Two or more critical variables at stated values | Indicator tube responding to time and temperature |
| Type 5 | Integrating indicator | All critical variables, with performance linked to a biological indicator | Moving-front integrating strip |
| Type 6 | Emulating indicator | All critical variables for a specified cycle | Cycle-specific indicator for a stated cycle |
Read the first row and the last two rows together, and the practical message becomes clear: class 1 confirms exposure, while classes 5 and 6 relate to the cycle parameters themselves. A load is normally released on the basis of a physical cycle record, a biological indicator where required, and the appropriate internal indicator, not on a color change on the outside of the pack.
Where Class 1 Indicators Fit in the Workflow
In a disinfection and sterilization supply centre, process indicators appear at several points along the route from dirty to sterile:
- Sealing wrapped instrument sets before they enter the chamber
- Marking paper and plastic peel pouches used for single instruments
- Labelling rigid containers and loaner trays so they stay identifiable after the cycle
- Tagging loads from different departments when several cycles run back to back
- Giving staff a quick visual check during transport and sterile storage
Many teams also write the date, cycle number, and operator initials on the tape, which lets the indicator double as a record. That works well, as long as the writing does not cover the portion of ink that is meant to change color. Colleagues who want to see how class 1 sits alongside the other indicator families can read our overview of chemical indicator types and how they work.
Common Mistakes Worth Avoiding
- Treating a color change as proof of sterility rather than proof of exposure.
- Using an indicator that is not validated for the sterilization method in use, such as steam tape in a low-temperature plasma cycle.
- Placing a class 1 indicator where the process cannot reach it, or treating external tape as though it were an internal indicator.
- Storing indicator rolls in a warm, humid room beside the autoclave.
- Leaving the indicator out of the cycle record, so the batch cannot be traced afterwards.
None of these mistakes is dramatic on its own, but together they make a department's documentation far weaker than it needs to be. A short training session usually resolves all five, and a simple checklist at the packing bench keeps them from creeping back in.
Matching Indicators to the Sterilizer You Run
The indicator and the sterilizer have to agree with each other. Steam cycles at 121 °C and 134 °C, gravity displacement and pre-vacuum cycles, and low-temperature plasma or ethylene oxide processes all impose different conditions, and an indicator that has not been validated for a given method will not tell you anything useful about it.
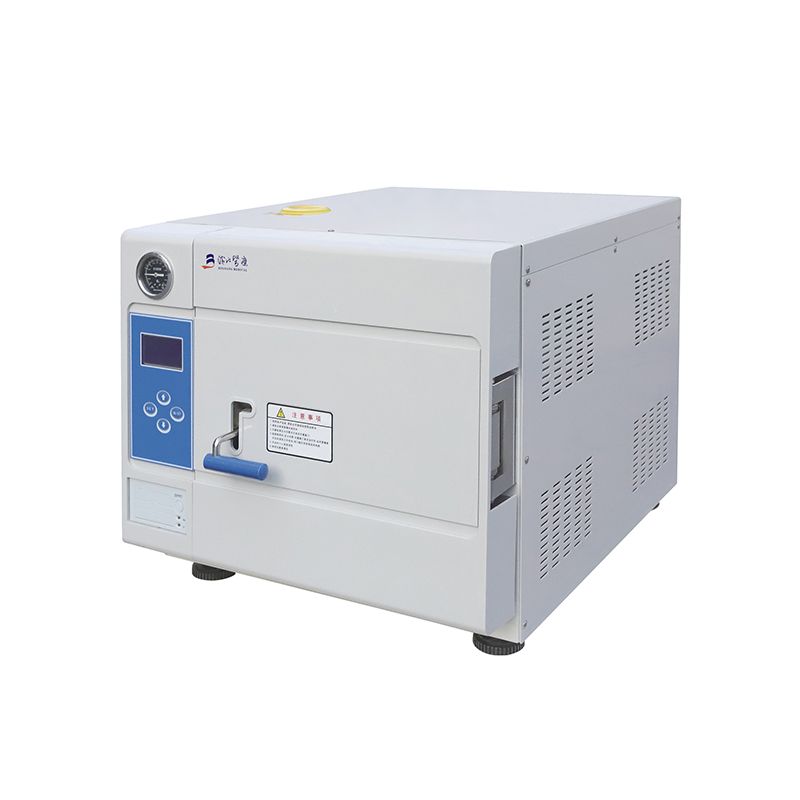 Class B Table Top Pulse Vacuum Steam SterilizerThe table-type sterilizers are safely auto-controlled and are designed for dental clinics, hospitals, school labs, scientific research institutions, and laboratories. ...View Product →
Before ordering in bulk, check the stated conditions on the packaging against the cycles you actually run. If a facility operates a mixed fleet, for example a gravity displacement unit for liquids and a pre-vacuum unit for wrapped instruments, make sure the tape you buy suits both, or keep clearly labelled separate rolls for each area.
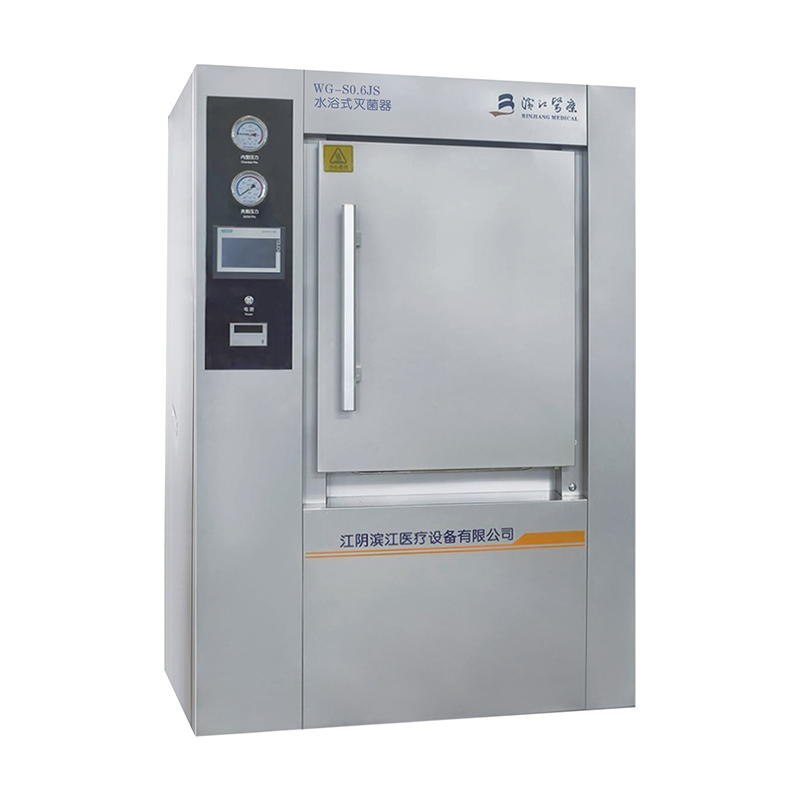
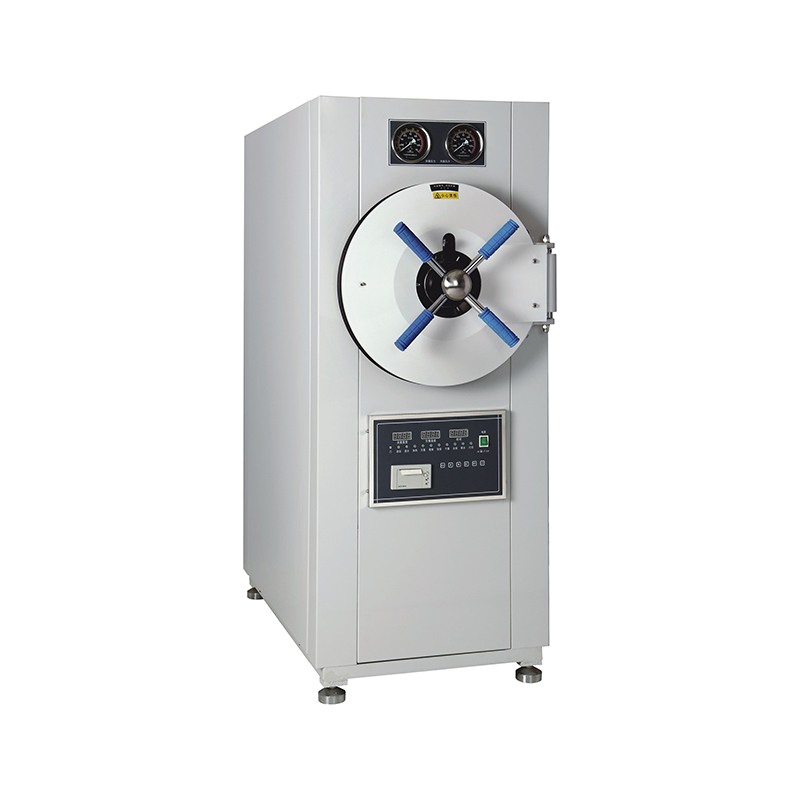 Microcomputer control Horizontal Pressure Steam SterilizerWG-S0.6JS Water Bath SterilizerView Product →
It is also worth remembering that indicators monitor a process, not a machine. The sterilizer still has to be loaded correctly, with adequate spacing for steam penetration, and the chamber still has to be maintained on schedule. If you are reviewing the sterilizers we build for hospitals, laboratories, and clinics, compare the cycle types and chamber sizes on offer before deciding which indicators to standardise on across the department.
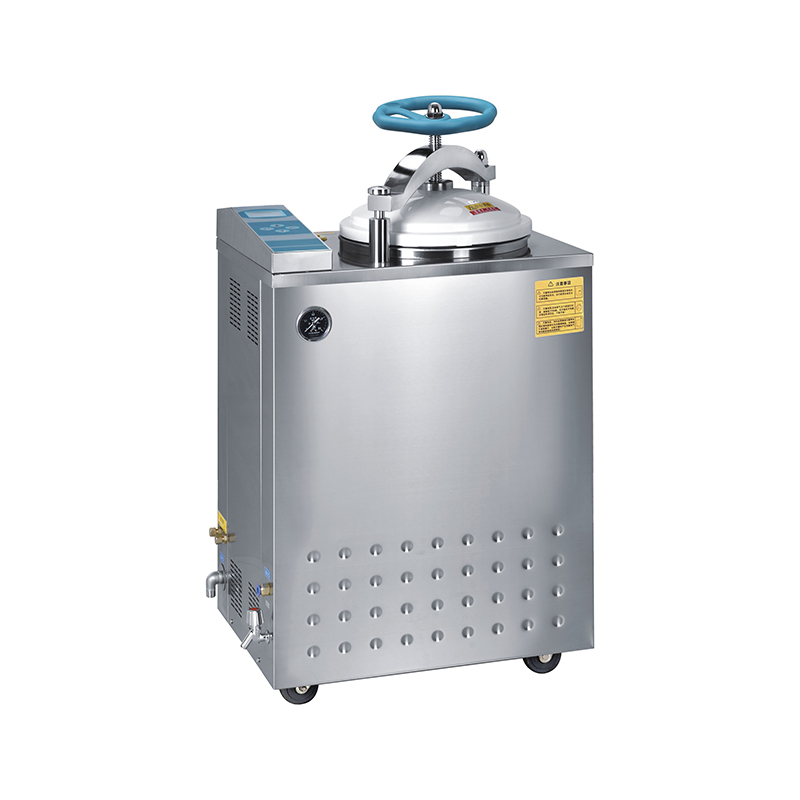
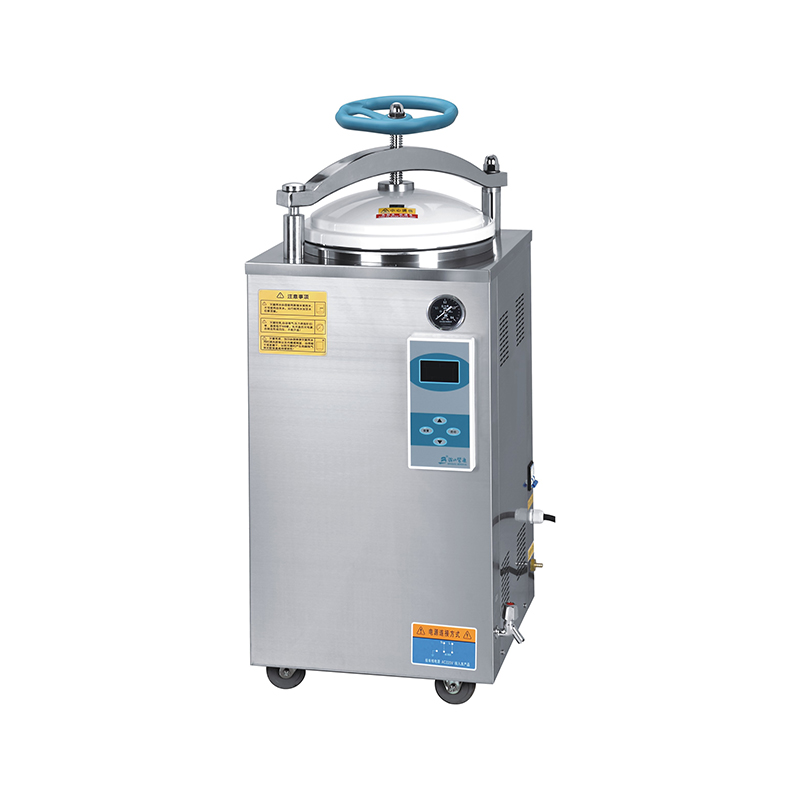
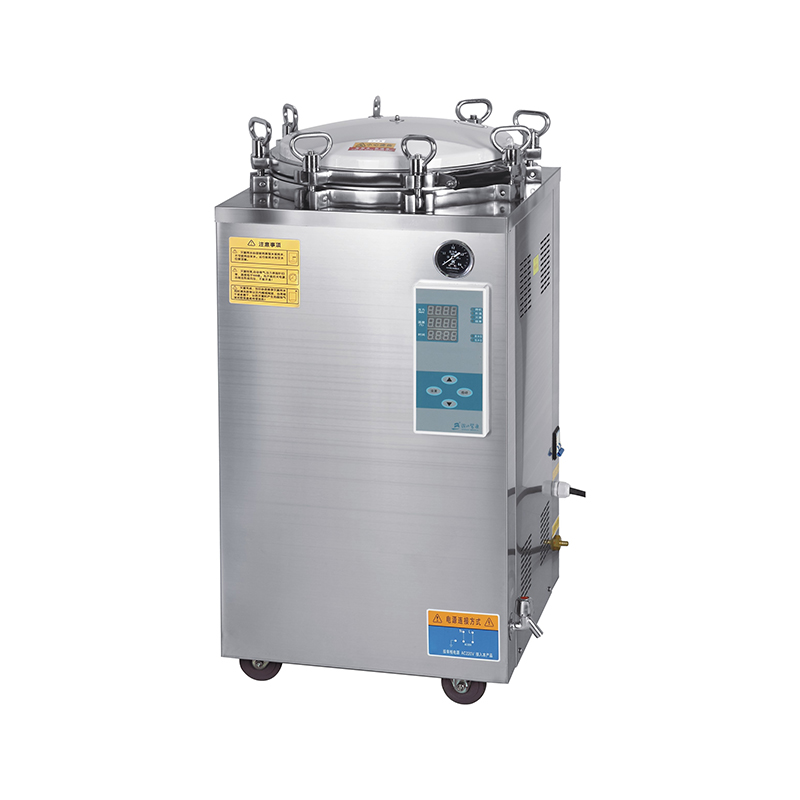
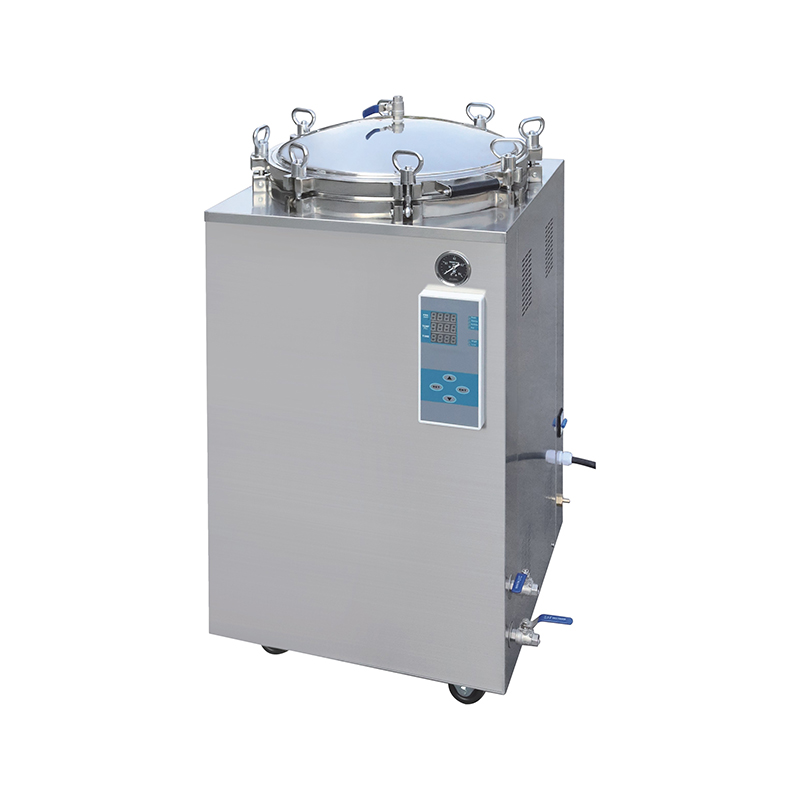
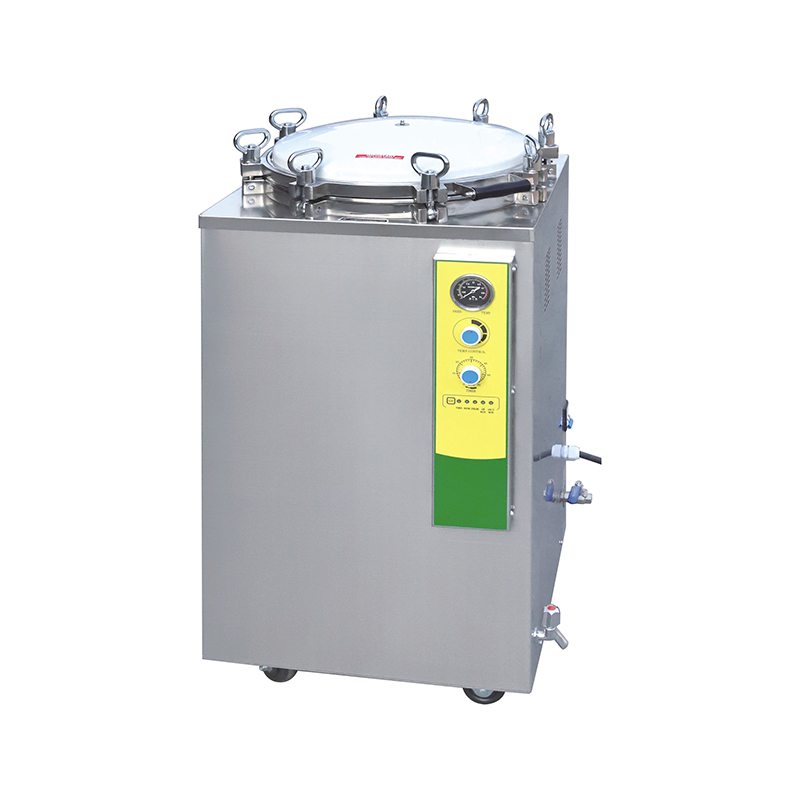
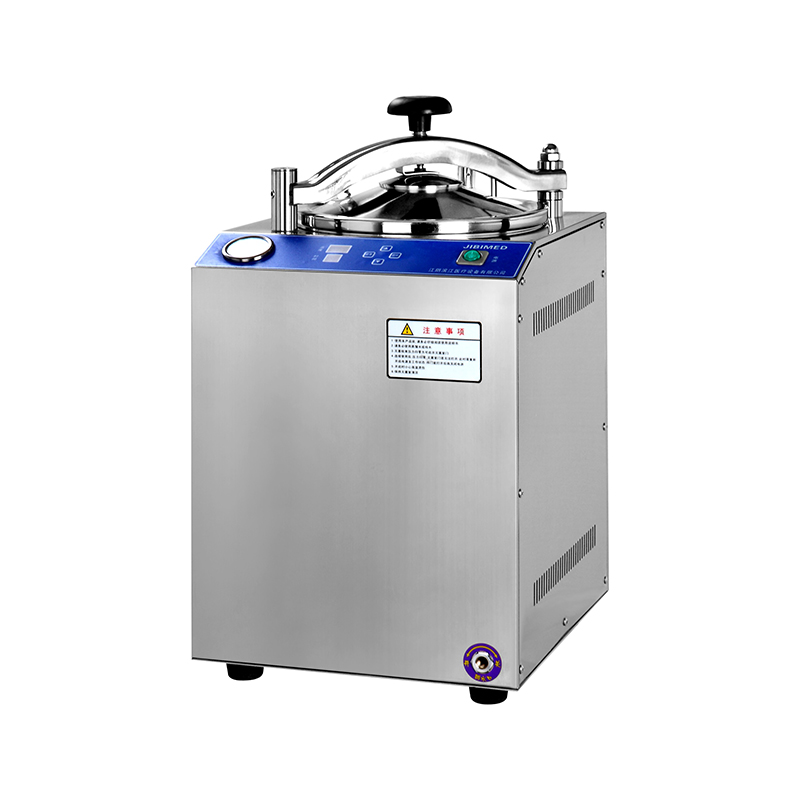
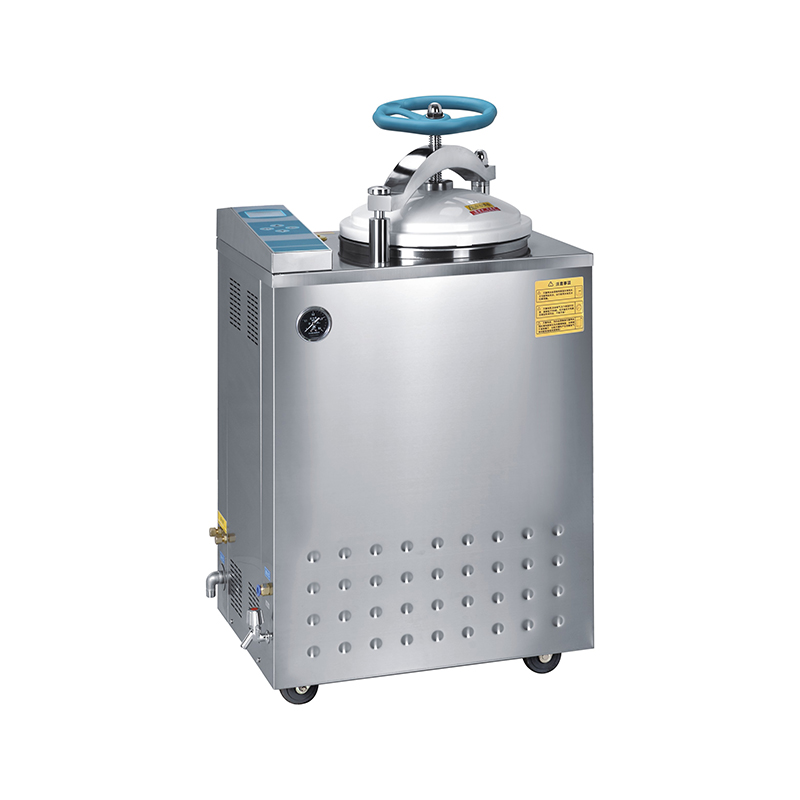 Vertical Pulse Vacuum Steam SterilizerThe vertical pressure steam sterilizers are assembled with a heating system, micro-computer controlled system, and overheat and overpressure protection system, which a...View Product →
Class 1 indicators do a small job, and they do it well. They confirm that a package has met the sterilization process, they help a busy department keep processed and unprocessed items apart, and they create a visible trail that can be written on, checked, and filed.
They simply cannot carry the whole burden of sterility assurance, and no color change on a strip of tape ever should. Pair a correctly validated class 1 indicator with proper loading, a maintained sterilizer, the right internal indicator, and a documented cycle record, and the process becomes what it is meant to be: predictable, traceable, and safe for every patient on the other end.