
 English
 русский
 Français
 Español
 Indonesia
 Deutsch
 عربى
عربى 中文简体
中文简体
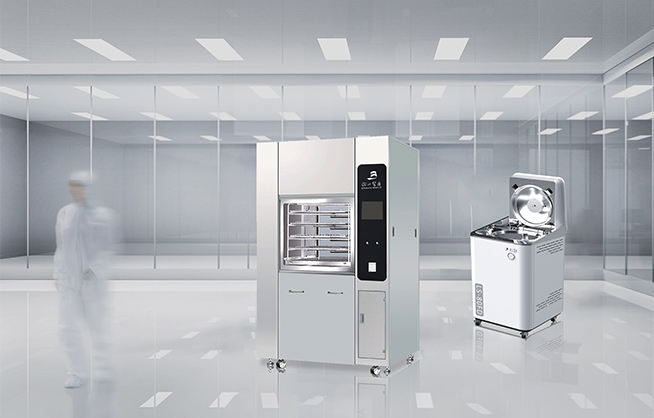
How to Autoclave Liquids: Step-by-Step Guide for Safe Sterilization
Posted by Admin | 27 Apr
Content
Autoclaving liquids is not simply a matter of placing bottles in the chamber and pressing start. Liquids behave very differently from solid instruments under high heat and pressure — they expand, boil, and can shatter their containers if handled incorrectly. Follow the steps below to sterilize liquid media, buffers, and solutions safely and effectively every time.
Why Liquids Need a Dedicated Autoclave Cycle
Most autoclaves offer at least three cycle types: gravity displacement, pre-vacuum (porous load), and liquid. Always select the liquid cycle for liquid loads. Gravity and pre-vacuum cycles exhaust chamber pressure too rapidly at the end, which causes superheated liquids to violently boil over, spill, and potentially crack or shatter containers.
The liquid cycle uses a slow exhaust phase — pressure is released gradually so that the temperature inside the containers drops safely before the chamber opens. Some modern units also introduce pressurized filtered air into the chamber during cooling to maintain back-pressure and prevent boil-over. For a broader overview of how different sterilization cycles work, see our pressure steam sterilizer guide.
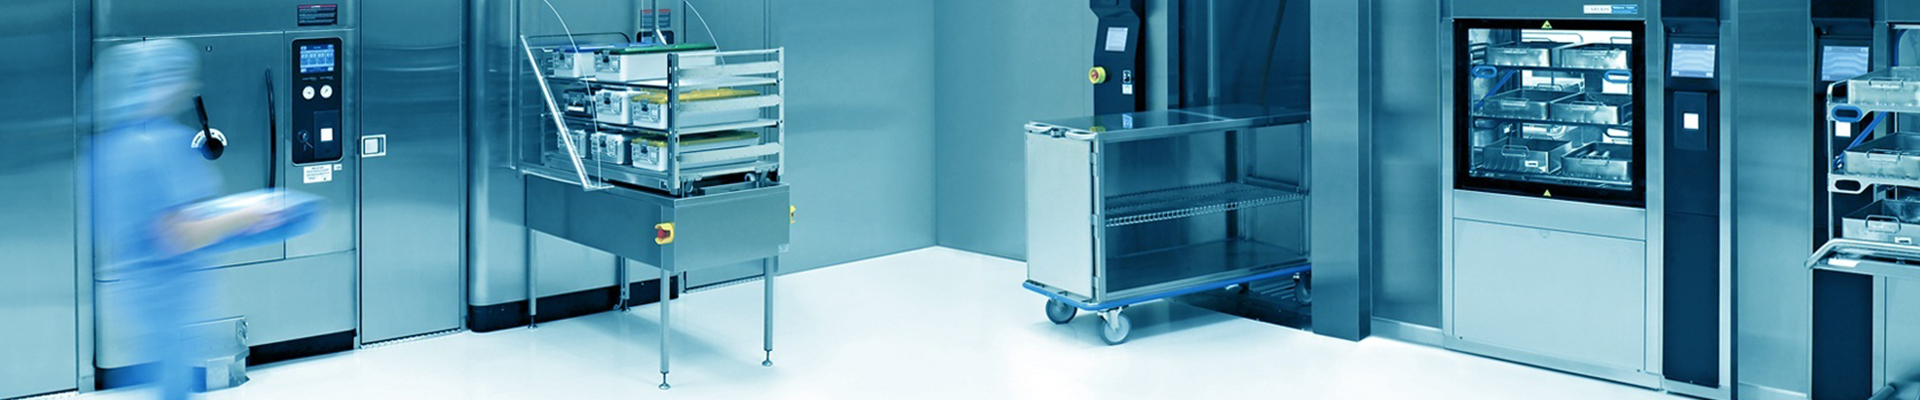
Step-by-Step: Preparing and Loading Liquid Loads
1. Choose the right container. Use only borosilicate glass (such as Pyrex or Kimax), polypropylene, or containers explicitly rated as autoclavable. Standard glass or polyethylene containers will crack or melt. Never use sealed containers — pressure buildup inside a sealed vessel can cause it to explode.
2. Fill to the correct level. Do not fill any container more than two-thirds full. Liquids expand and foam during sterilization, and a full bottle will boil over, contaminating the chamber and wasting your media. For agar-based media, fill no more than halfway to allow extra headspace for foaming.
3. Loosen all caps. Caps must be loose enough to allow steam pressure to equalize, but not so loose they fall off. Secure loosened caps with autoclave tape. For containers without lids, cover the opening with aluminum foil secured with tape.
4. Place containers in a secondary tray. Always load liquid containers inside a polypropylene or stainless-steel tray with solid walls and a solid bottom. Add about 1–2 cm of water to the tray to promote even heating and to catch any spillage. Keep at least 2–3 cm of space between bottles so steam can circulate freely. Use the correct type of water for your autoclave — distilled water is typically recommended. For guidance on water quality, refer to our article on autoclave water types and maintenance.
Cycle Settings: Temperature, Pressure, and Time
The standard validated parameters for liquid sterilization are 121°C at 15 psi (103 kPa). This combination of temperature and pressure is sufficient to destroy vegetative bacteria, fungi, and most spores. Some facilities use 134°C for shorter cycle times, but this increases the risk of degrading heat-sensitive media.
Exposure time is not fixed — it scales directly with the volume of liquid per container, not the total load volume:
| Volume per Container | Minimum Exposure Time |
|---|---|
| Up to 75 ml | 15 minutes |
| 75 ml – 500 ml | 20 minutes |
| 500 ml – 1 L | 30 minutes |
| 1 L – 2 L | 40 minutes |
| Over 2 L | 60 minutes |
When a load contains containers of different sizes, always base your cycle time on the largest container. Viscous liquids and those in plastic containers also require additional time since plastic insulates heat more than glass. For a detailed reference on operating temperatures, see our guide on steam temperature for sterilization.
Safe Cooling and Unloading
This is the step where most accidents happen. Even after the cycle ends, liquid inside the containers may still be superheated — meaning it is above 100°C but has not yet boiled because it remains under pressure. Agitating or rapidly depressurizing superheated liquid can trigger a sudden, violent boil.
Follow these rules every time:
- Wait for the pressure gauge to reach zero before attempting to open the door. Most autoclaves have an interlock that prevents the door from opening above 80°C, but do not rely on this alone.
- Crack the door open 1–2 cm first. Stand to the side, not directly in front. Allow residual steam to vent for at least 10 minutes before fully opening and unloading.
- Wear full PPE: heat-resistant gloves, a rubber apron, and a face shield — not just safety glasses — when unloading liquids.
- Do not agitate or move containers until they have cooled. Allow liquids to cool in place for at least 20–30 minutes, or longer for volumes above 1 L. Label the area clearly to alert others that the load is hot.
- Do not tighten caps until the liquid has fully cooled. Sealing a hot container traps residual steam, which creates pressure and can cause the bottle to crack or pop open.
Any spills inside the chamber should be cleaned immediately after everything has cooled. Residual media left in the chamber or drain can caramelize, clog the drain strainer, and compromise future cycles.


